


leo
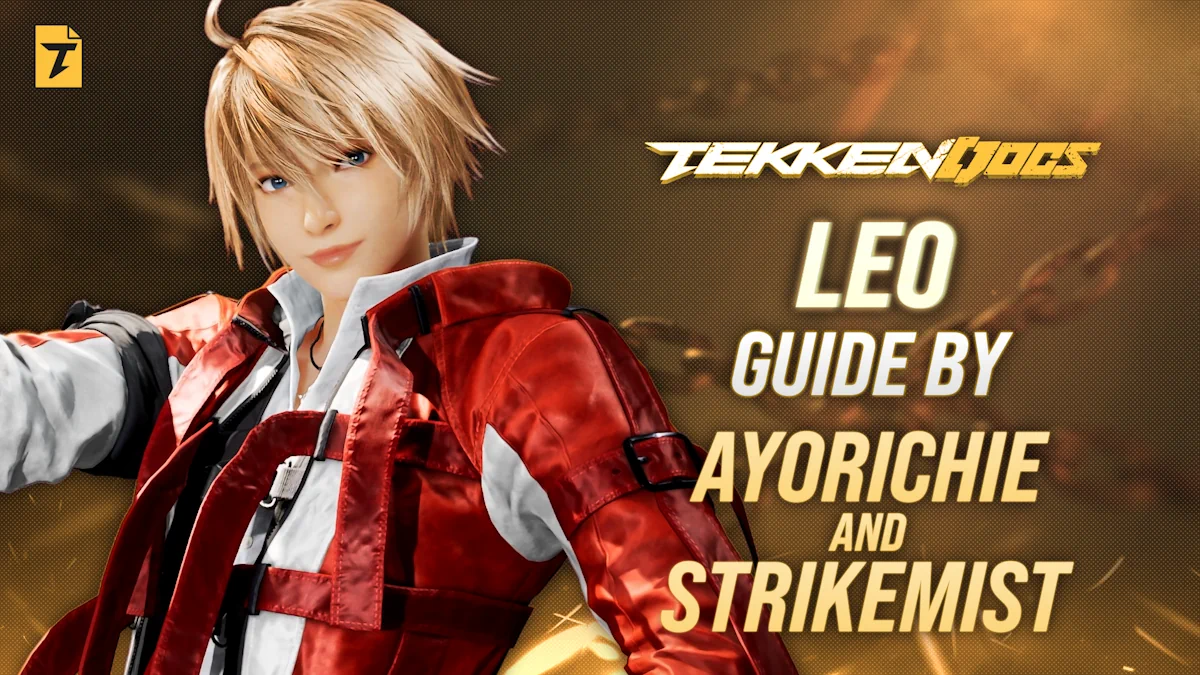
leo Tekken 8 Season 3 Guide
Introduction
Leo Kliesen is an all-rounder in Tekken 8, thanks to being able to poke effectively, be an absolute menace at the wall and play a really frustrating keepout game/ hit and run style thanks to the character having a back step evasive tool with b3+4, the character has a plethora of evasive tools and stances that all compliment each other extremely well making it feel like at times you’re piloting ling xiaoyu or feng wei.
Hit confirmable attacks that have options to transition into Leo’s bok (d1+2) stance to add a mixup element to the attack if just sitting there and trying to hit confirm isn’t your strong suit.
The biggest issues players have when trying to fight Leo is hitting them due to their obnoxious hurtbox and the evasive tools listed above, meaning you’re piloting a pretty polarising character, but the variety in the move list and all-around design will have you addicted to playing Leo Kliesen in Tekken 8
Strengths
- Incredible df2
- Evasion: db3, f2+3, b3+4, d1+2
- Wide range of parries
- Pressure at the wall with and without heat is obnoxious
- Bok 3+4 and f4 are incredible attacks near the wall when paired with heat options
- Lightning Glare (Install) Powered up attacks are super strong LTG b3,1,2, LTG db4,1,1+2, LTG f+2,4,3, LTG KNK 4,1+2
Weaknesses
- No single hit heat engager, limiting long combos and meaning some characters can deter mindless heat usage that they wouldn’t be able to against most other characters
- Relying on slower tracking options to stay afloat leaves a lot of room to be interrupted by fast buttons, since Leo’s faster options are all pretty steppable
- No jab string to mindlessly throw out and give your opponent something to fear in the neutral. Sidestep right will blow up Leo if they become careless with jab strings
- Extremely hard to lock your opponent down without taking moderate risks in your + frames
Heat System
- The options for Leo while in heat are really sublime. You can play a rushdown style by looping f4’s on your opponents guard threatening the heat smash or low powered up lightning glare move every single time, or you can loop + frames with the power of LTG f+2,4,3 which can also go into stance with the down input in which case can press the 4 button from bok stance and get that same f4 pressure going in a different way, or you can go low and mix your opponents guard threatening with the bok stance low which is the 3+4 input, then threatening ws4,1+2 heat dash with near to no counter play
- Leo’s heat doesn’t only go as far as just offense and wall situations, you can also take your foot off the gas and try and hit confirm a full launcher with db2,4 at any point of your heat gauge which is extremely good when playing that hit and run style with Leo, LTG b3,1,2 and LTG f+2,4,3 are not exclusive to heat since you can use them with the install but gaining multiple chances to use these tools consecutively is really amazing for Leo
Installments
Lighting Glare (LTG)
Available whenever Leo's heat is activated. Install also activates when pressing 1+2 after hitting f,f+2, uf+1,2, d+4,2, WS 1+2, or after automatically after b1+3 followup by mashing 2Top 10 Moves
Punishers
Standing
Forces stance at +11. "Knk 4" and "knk 3 "become uninterruptible by jab and downjab, making this mixup more devastating than f4 on block
At +8, you can threaten a lot more of the move list rather than just relying on a mix. Notable options are d4 and d1, since these options are unavoidable
+6 and leaves you close enough to your opponent to attempt a hellsweep with db4,1. You can mix this sequence up by going for uf2,1 as a mid launcher, and if you want to catch powercrushes, go for b1+4 for a full launch. Notable frame traps are df1, standing 4, df4, df2, 1+3/2+4/uf1+2, and d4
Wall-splatting punisher that allows Leo to gain the character's unique install when 1+2 is pressed simultaneously Df4 punish for moves with too much pushback for uf1,2 to reach. Space for Leo’s strong whiff punishment to be a factor after it connects
Heat engager and heat dash launcher, designed to punish your opponent very heavily if they take risks while you’re in heat. +8 and forces crouch outside of heat, dealing 32 damage
+8 high mid attack with a lot of pushback on hit, but does 35 damage, which is strong when heat launchers and Leo’s install is not available. However, you won’t be punishing with this very often due to heat and install being very common, still solid nonetheless
Mid launcher with good range to start combos after blocking your opponent's risky attacks
Serves the same purpose as df2, but just with a bit less range
Heat Engager and heat dash launcher. Incredible range and perfect for moves with insane pushback. This move also wall-splats point-blank and a little hit away from the wall
Furthest range punish if you want to launch your opponent. Can convert this combo with a heat burst or a well-timed QCF3. Isn’t too many times you’ll be using this as a punish
Crouching
25 damage, +22. "d2" is completely unavoidable after this move connects. Mixup potential is really high here
Preserves Heat, gives Install
Full combo
Whiff punishers
Fast and safe range 1 whiff punisher
Reliable range 2 reaching mid launcher
Safe mid, mid range 2.5 launcher with heat burst or execution of iWS3
Leo's premier long-range hit-confirmable heat engager whiff punisher. Can heat dash into a combo